Baking Sourdough in a Dutch Oven
Published How we research
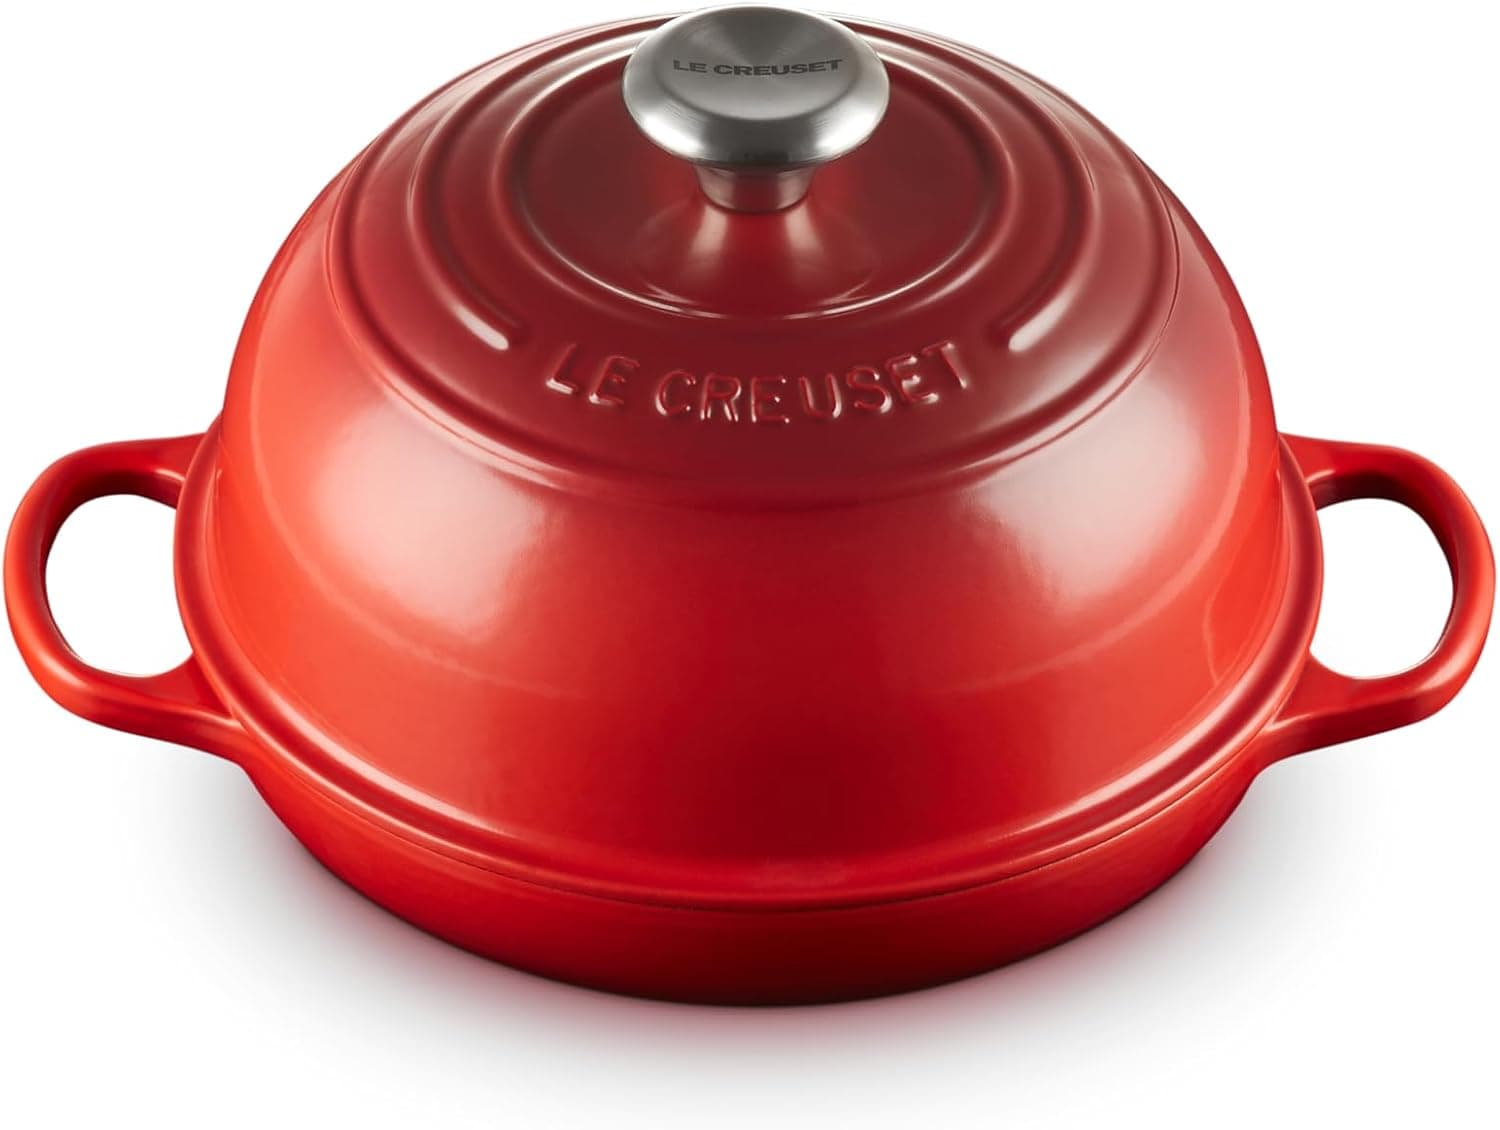
For home bakers, a Dutch oven is the single most effective tool for producing bakery-quality sourdough, and the reason comes down to steam. Professional bread ovens inject steam during the first minutes of baking to keep the loaf's surface soft so it can expand fully before the crust sets. A heavy lidded pot recreates this environment almost perfectly by trapping the moisture that evaporates from the dough itself, giving you dramatic oven spring, a blistered crackly crust, and a glossy finish that is very hard to achieve on an open baking sheet.
Almost any heavy, oven-safe lidded pot works, whether enameled cast iron, bare cast iron, or a combo cooker. The key qualities are that it retains heat well, has a tight-fitting lid, and is large enough for your loaf to expand without touching the sides, usually a capacity of around four to six liters for a standard boule. A combo cooker, which is essentially a shallow skillet base with a deep lid, is especially convenient because loading the dough onto the shallow bottom is easier and safer than lowering it into a deep pot.
Preheating is not optional. Place the empty Dutch oven, lid on, into a cold oven and heat everything to around 230 to 250 degrees Celsius, then let it continue heating for a full 30 to 45 minutes after reaching temperature so the heavy metal is thoroughly saturated with heat. Loading dough into a properly preheated vessel delivers the immediate blast of heat that drives oven spring. Skipping or shortening this step is one of the most common reasons a Dutch oven loaf still comes out flat.
When the dough and oven are ready, turn your proofed loaf out onto a piece of parchment paper, which makes it easy to lower the dough into the screaming hot pot without burning yourself. Score the loaf decisively, then use the parchment as a sling to lower it in, cover with the lid, and return it to the oven. Take care with the very hot lid and pot; long, heat-proof gloves are a worthwhile safety investment for this step.
Bake covered for the first phase, typically around 20 minutes, so the trapped steam does its work and the loaf springs and blooms. Then remove the lid to let the crust dry, darken, and crisp, baking for another 20 to 25 minutes until the color is a deep golden brown, even bordering on mahogany. A pale crust usually means the uncovered phase was too short or the oven too cool. If you like, you can check doneness with an internal temperature around 96 to 99 degrees Celsius, or by a hollow sound when tapped on the base.
Once baked, lift the loaf out using the parchment and transfer it to a wire rack to cool completely, ideally for at least two hours before slicing. Cooling on a rack lets air circulate and moisture escape, which prevents a soggy bottom and lets the crumb finish setting. Resist cutting in early no matter how tempting the aroma is, because that final cooling stage is when the interior firms into a proper, sliceable crumb. With a preheated Dutch oven and a good proof, consistently beautiful loaves become the norm rather than the exception.
Products from this article
The highest-scoring picks from the buying guides mentioned above. Scores are our editorial assessment, not customer ratings.
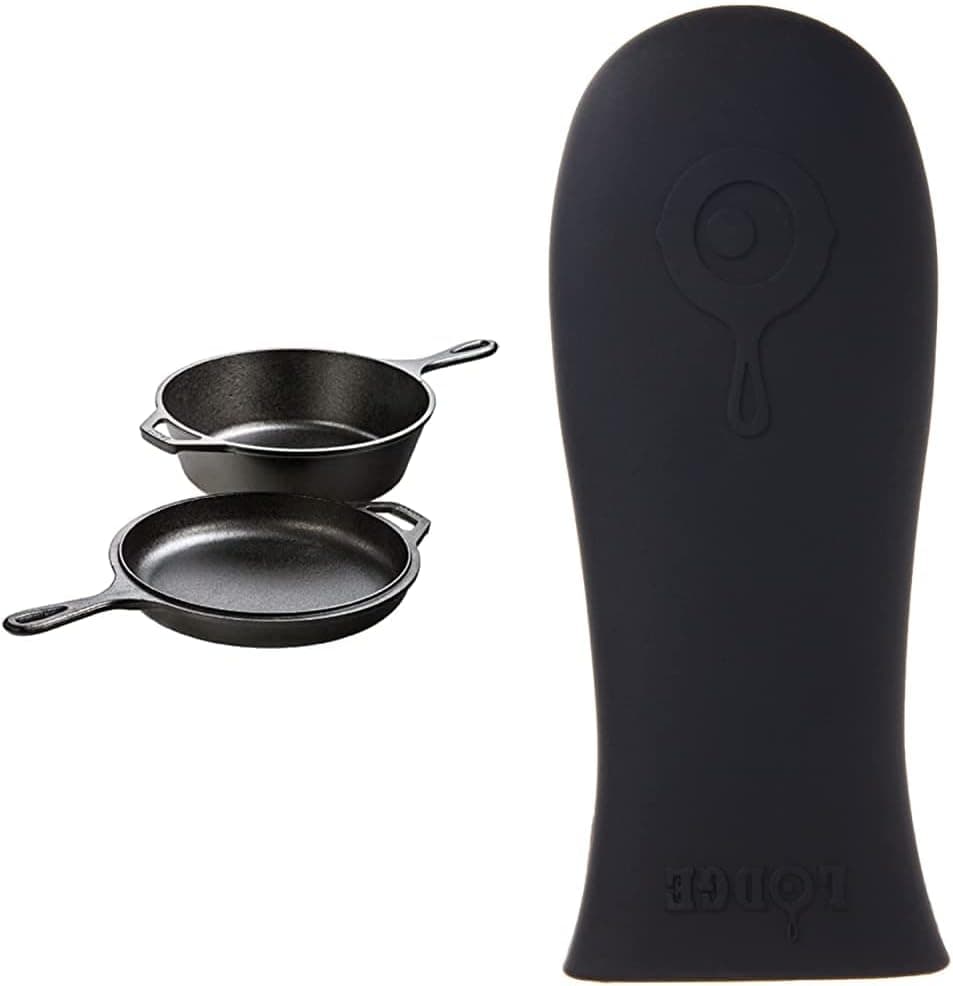
+ Skillet serves as the base and the deep pot as the lid, so scored dough is easy to load
From our guide: Best Dutch Ovens for Bread
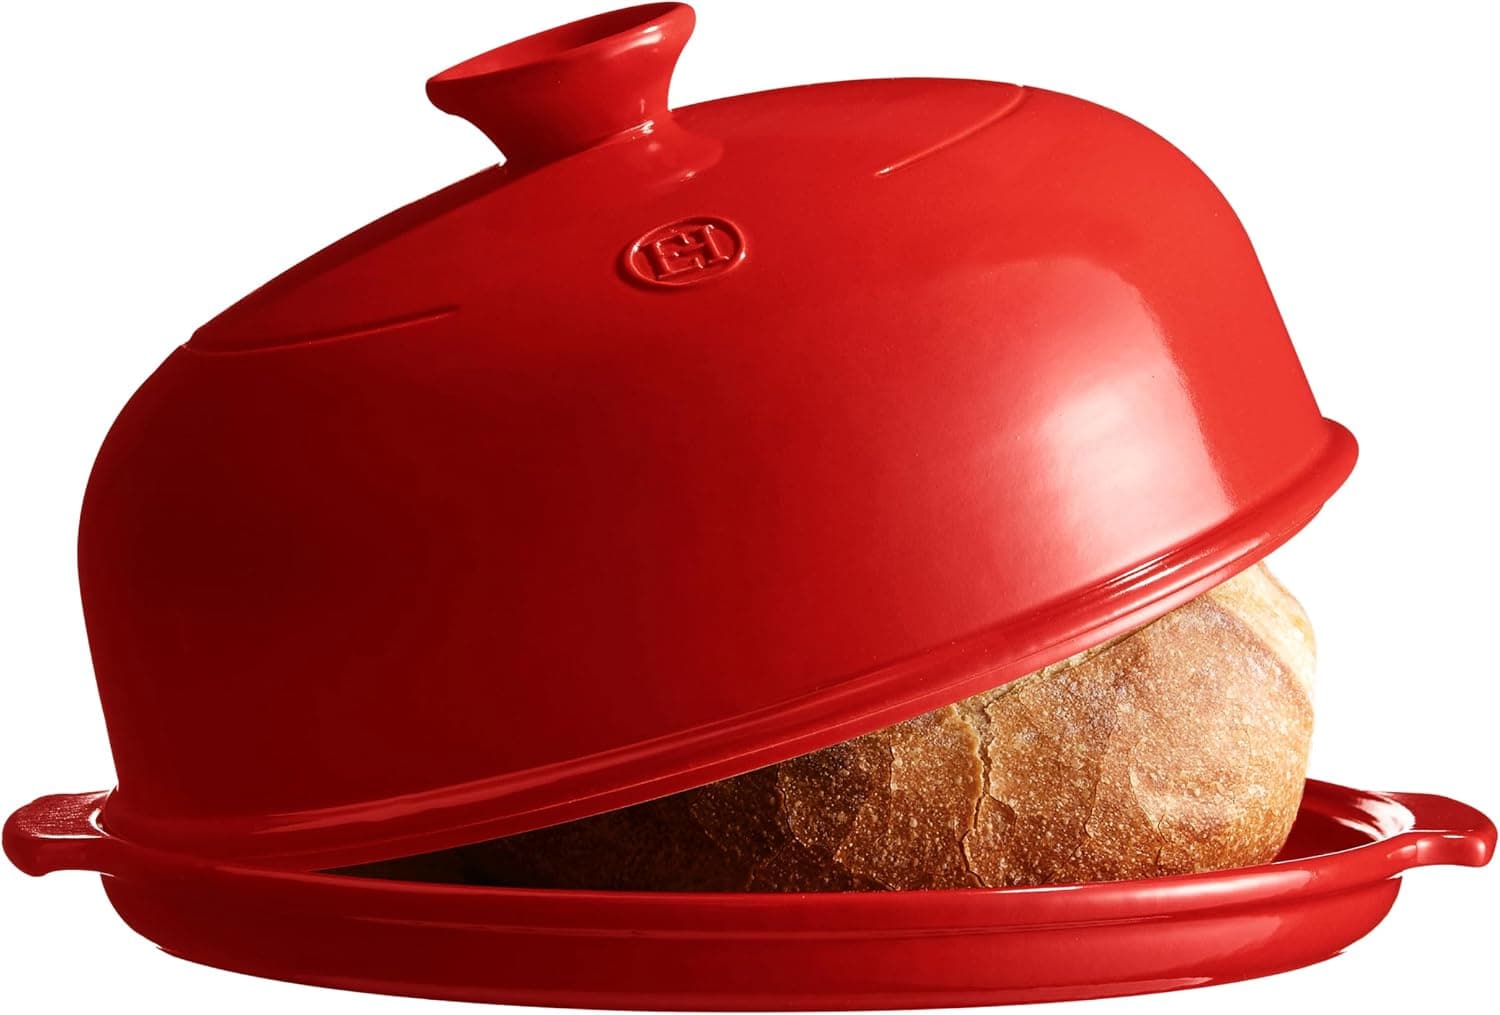
+ Glazed ceramic dome traps steam for a shiny, crackling crust on round loaves
From our guide: Best Bread Cloches
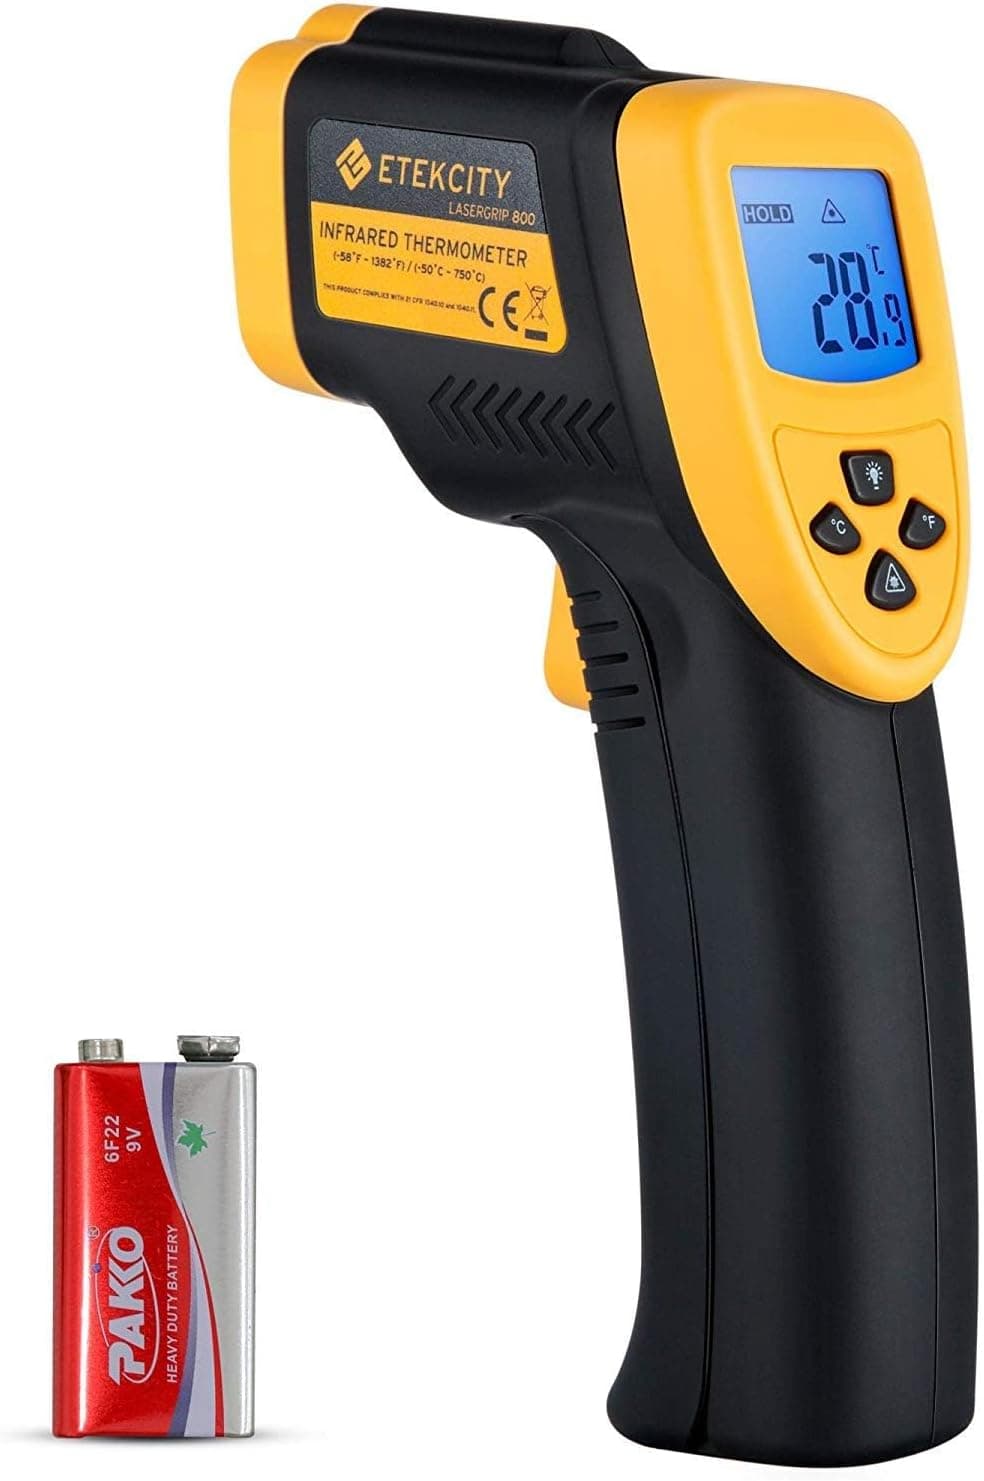
+ Range up to 1382F covers the hottest wood-fired ovens
From our guide: The 6 Best Infrared Thermometers for Baking and Sourdough (2026)
+ Proven LCC3 design is a favorite for boules because the shallow half makes loading easy
From our guide: Best Dutch Ovens for Bread

Popular right now
- Banneton vs Bowl ProofingArticle
- Sourdough Baking ScheduleArticle
- Troubleshooting Dense Sourdough BreadArticle
- Best Dough ScrapersBuying guide
- Understanding Sourdough Hydration BasicsArticle
- Best Sourdough Scoring TemplatesBuying guide
Based on the last 28 days of search and visitor data.