How to Bake Sourdough in a Cold Kitchen During Winter
Published How we research
When kitchen temperatures fall in autumn and winter, sourdough slows down dramatically. A starter that doubled in four hours in summer may take ten, and bulk fermentation can stretch across a whole day. Cold fermentation is not a failure, but it throws off timing. A few adjustments to temperature and schedule keep bakes consistent all winter.
How temperature affects fermentation
Wild yeast and bacteria in sourdough are most active in warm conditions, roughly 24-27°C (75-80°F). At 18°C (64°F), common in heated homes in winter, fermentation can take twice as long.
Cool fermentation also changes flavour, often making bread more sour and complex. Many bakers enjoy this, as long as they allow extra time and judge readiness by the dough, not the recipe's hours.
Use warm water
The simplest way to speed fermentation is to adjust the water temperature when feeding the starter and mixing dough. Aim for a final dough temperature around 24-26°C, which may mean using water at 30-35°C in a cold kitchen.
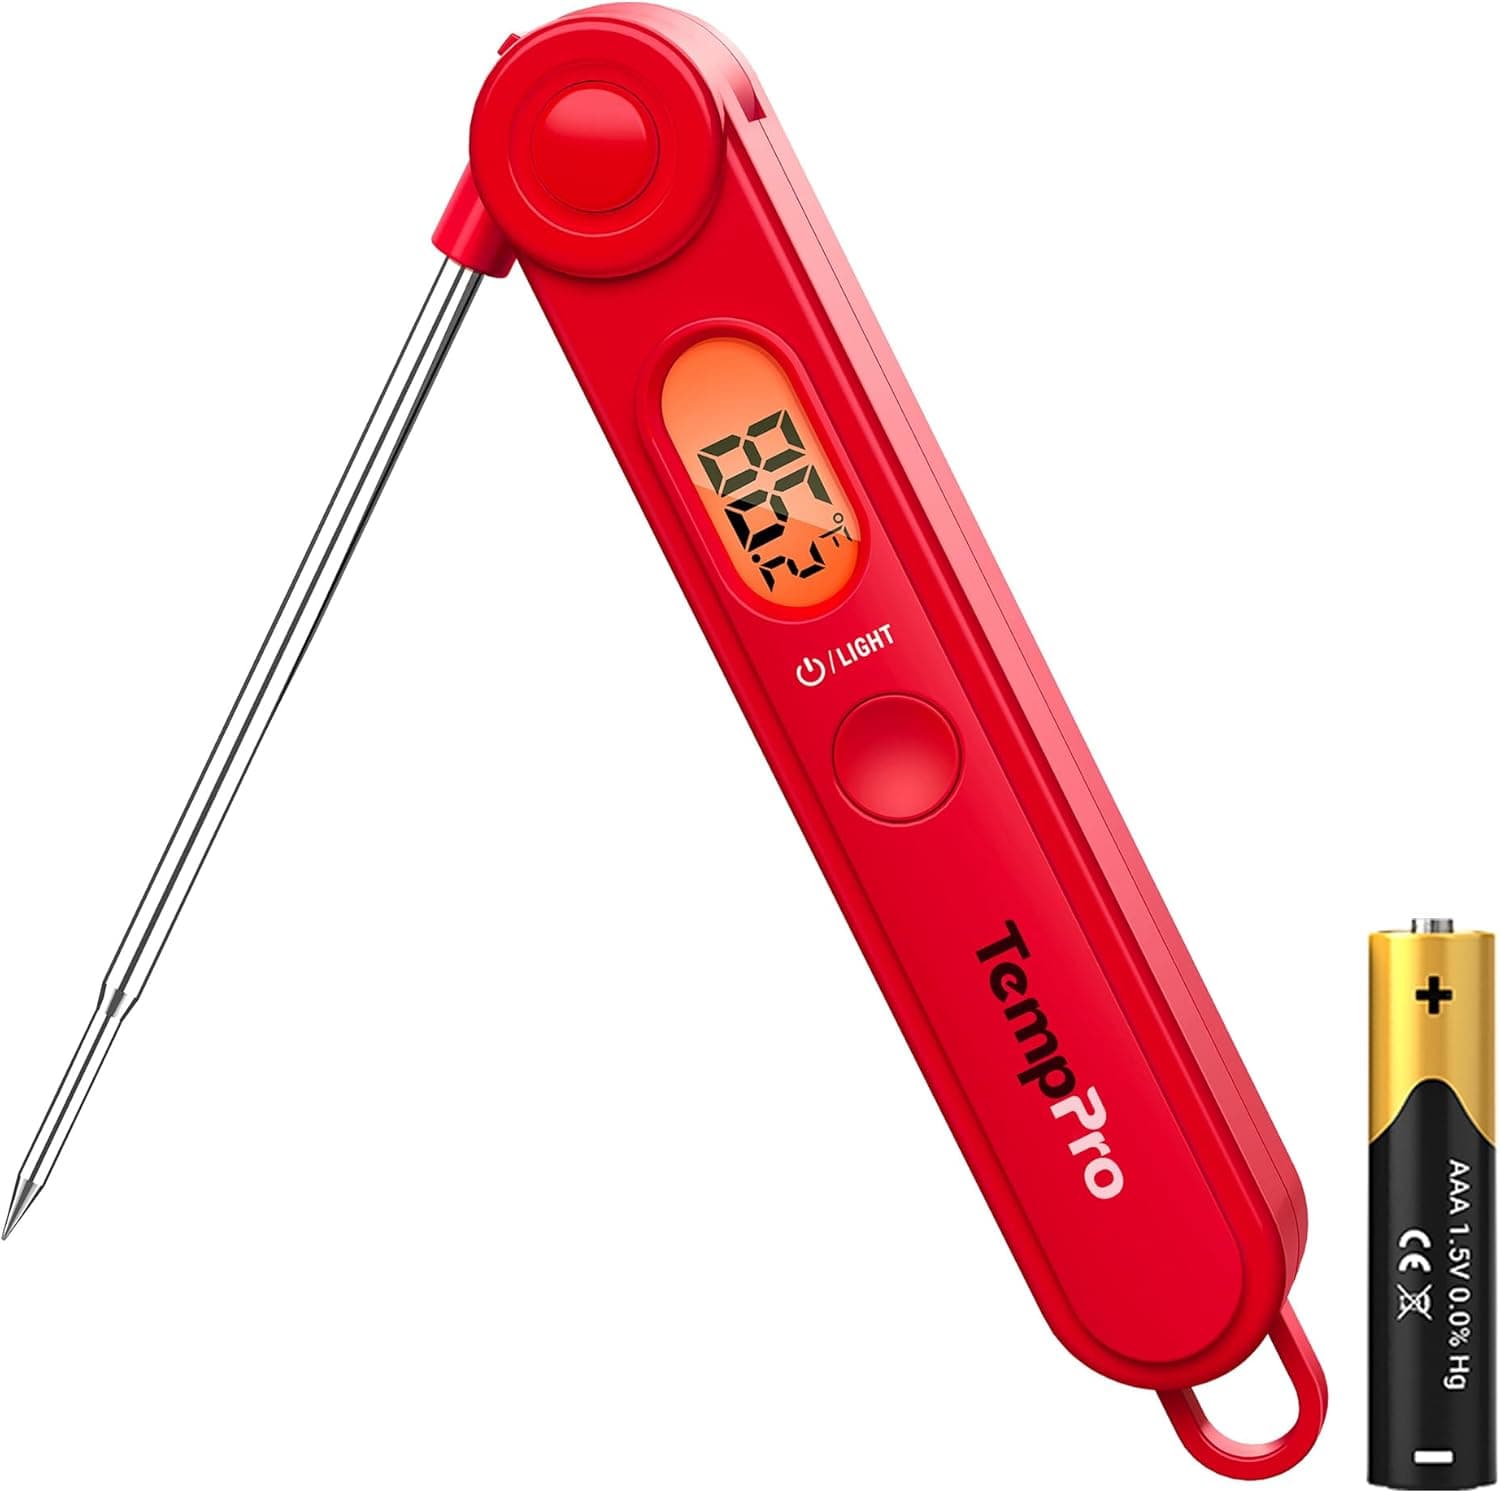
An instant-read or probe thermometer lets you check the dough right after mixing. Keeping notes on water temperature and dough temperature makes your winter schedule repeatable.
Find or create a warm spot
Inside the oven with only the light switched on is often warm enough, though some ovens get too hot, so check with a thermometer. The top of the fridge, near but not on a radiator, or a cupboard next to a heating vent can also work.
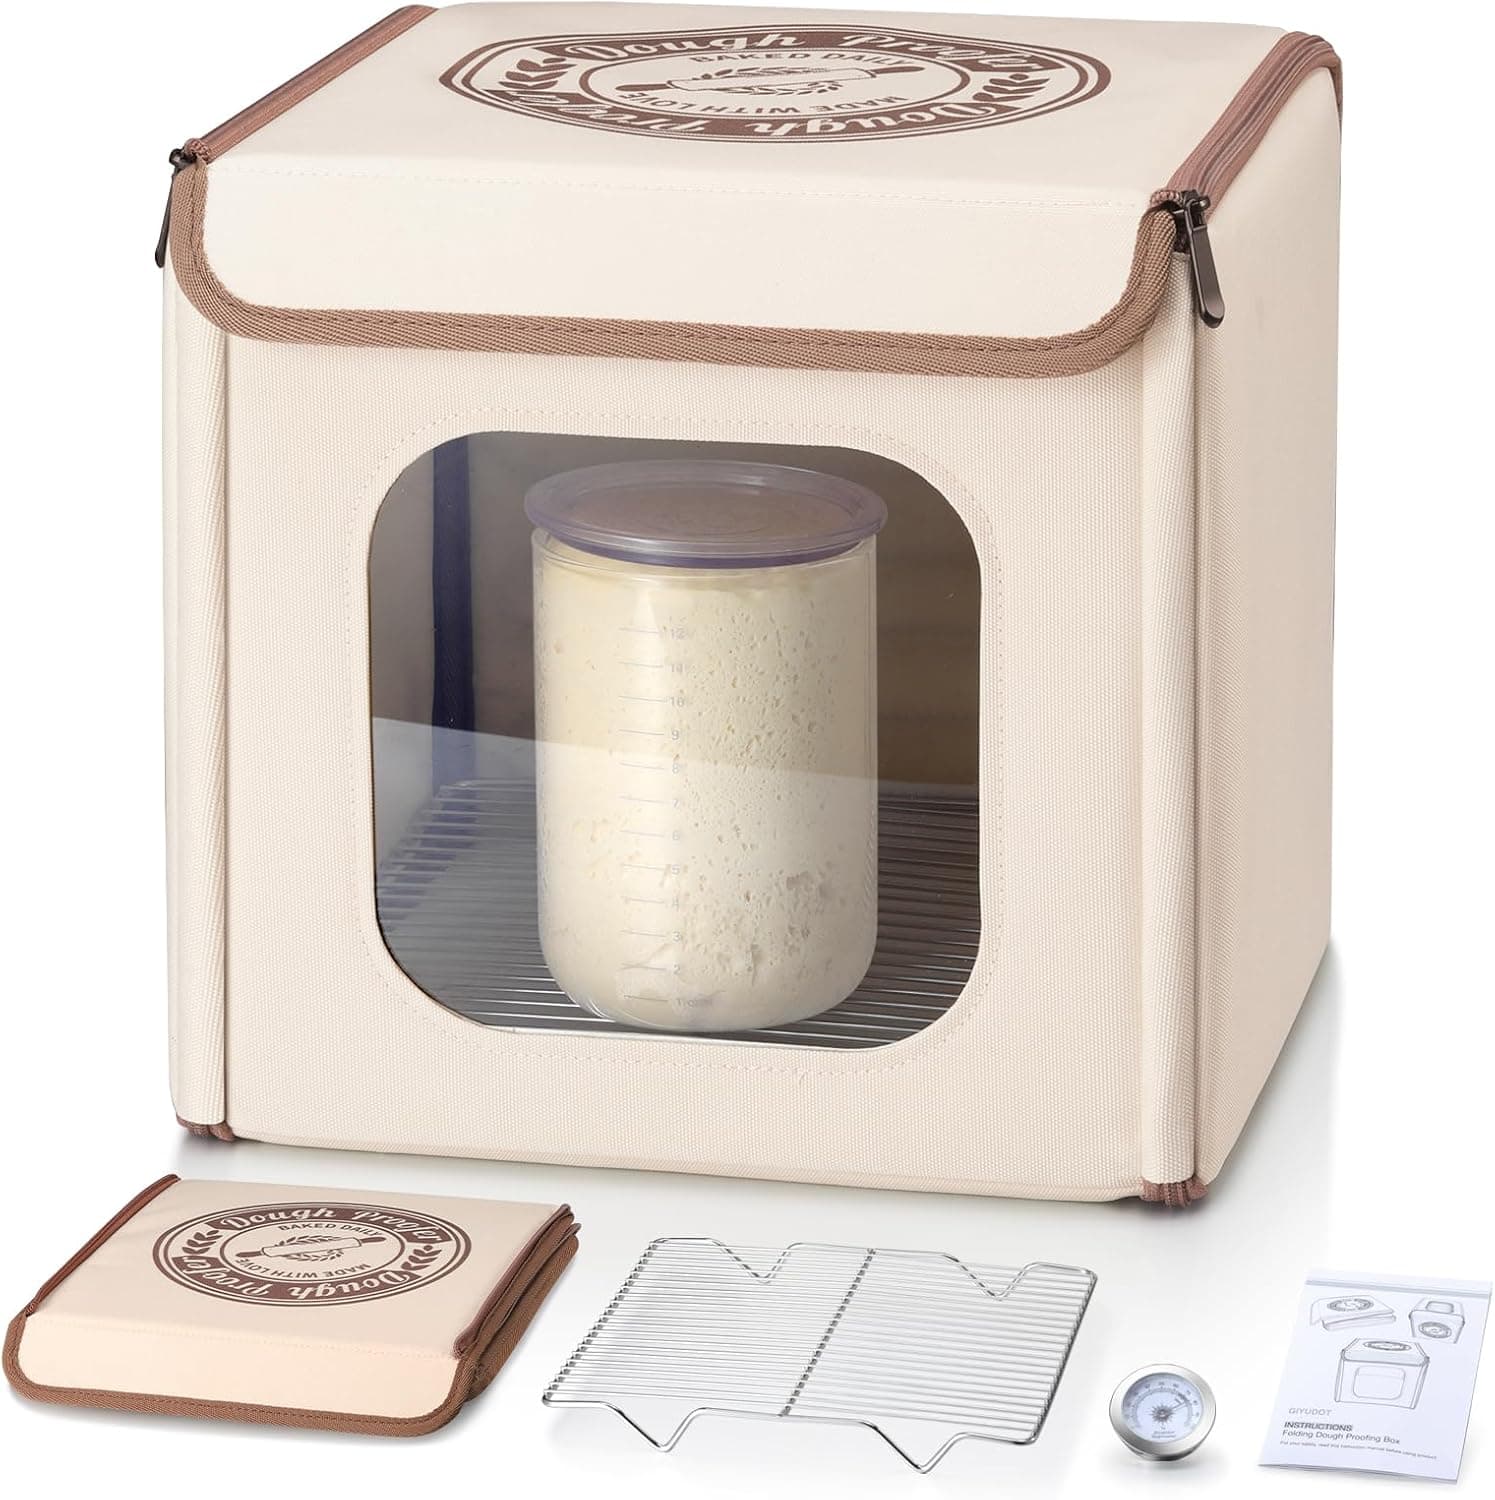
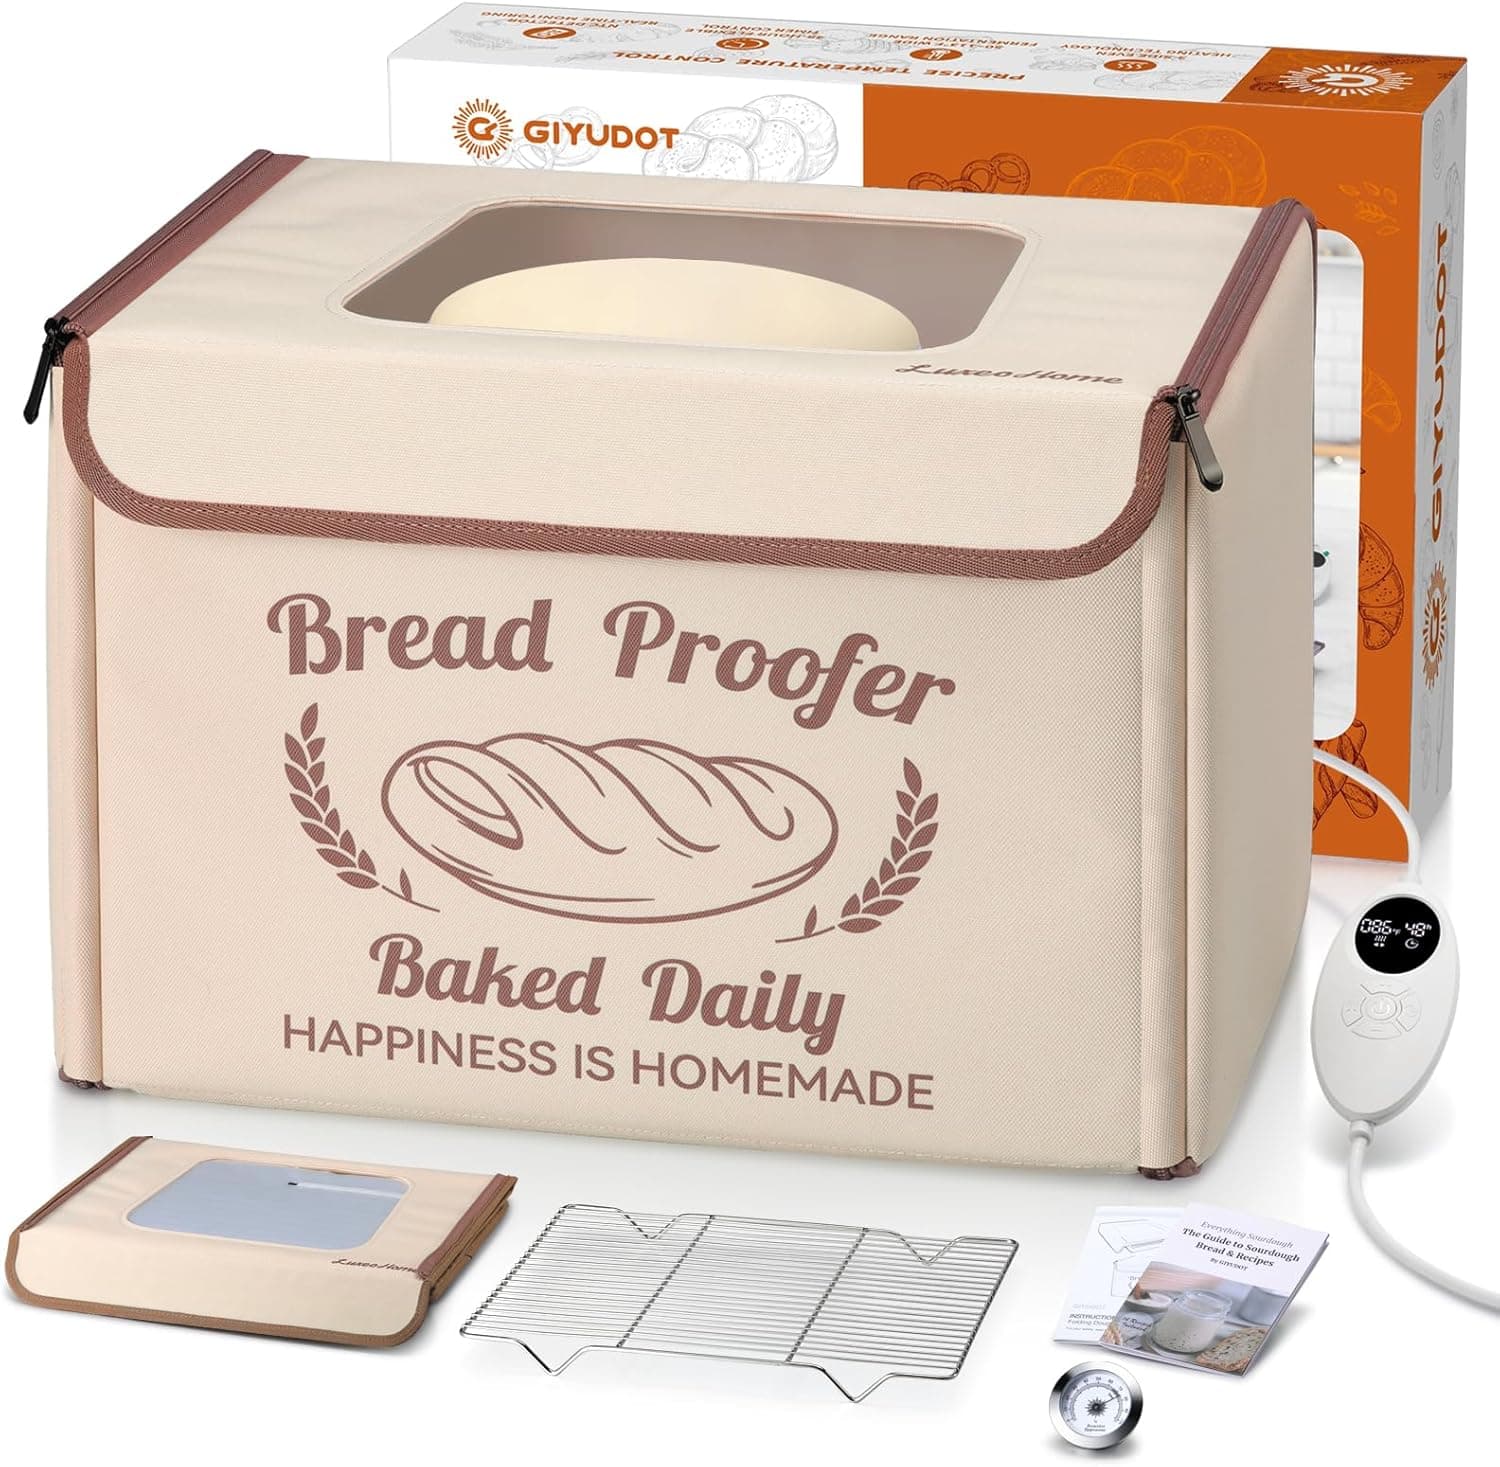
A proofing box gives precise temperature control for starter and dough, which is the most reliable option for regular bakers. A heat mat under a starter jar, or a small cooler with a jar of warm water inside, are cheaper alternatives.
Keep your starter active
Starters kept in cold kitchens become sluggish and more acidic. Feed with slightly warmer water, use a higher proportion of fresh flour and consider adding a little whole grain flour, which gives microbes more nutrients.
Before baking, give the starter a couple of feedings in a warm spot so it reliably doubles and smells pleasantly yeasty. Using a sluggish starter is a common reason winter loaves come out dense.
Adjust your baking schedule
Use the cold to your advantage. Mix dough in the evening, let bulk fermentation run slowly in a cool room overnight and shape in the morning, or shape in the evening and proof the loaf in the fridge until the next day.
Watch for signs that bulk fermentation is complete, such as a domed surface, visible bubbles and a noticeable rise, rather than following summer timings. Loaves may need longer final proofs as well, so do a gentle poke test before baking.
Products from this article
The highest-scoring picks from the buying guides mentioned above. Scores are our editorial assessment, not customer ratings.
+ Recipes are included, which helps new users learn proofing times
From our guide: Best Bread Proofing Boxes
+ Backlight makes readings clear in a dim oven or evening kitchen
From our guide: Best Kitchen Thermometers
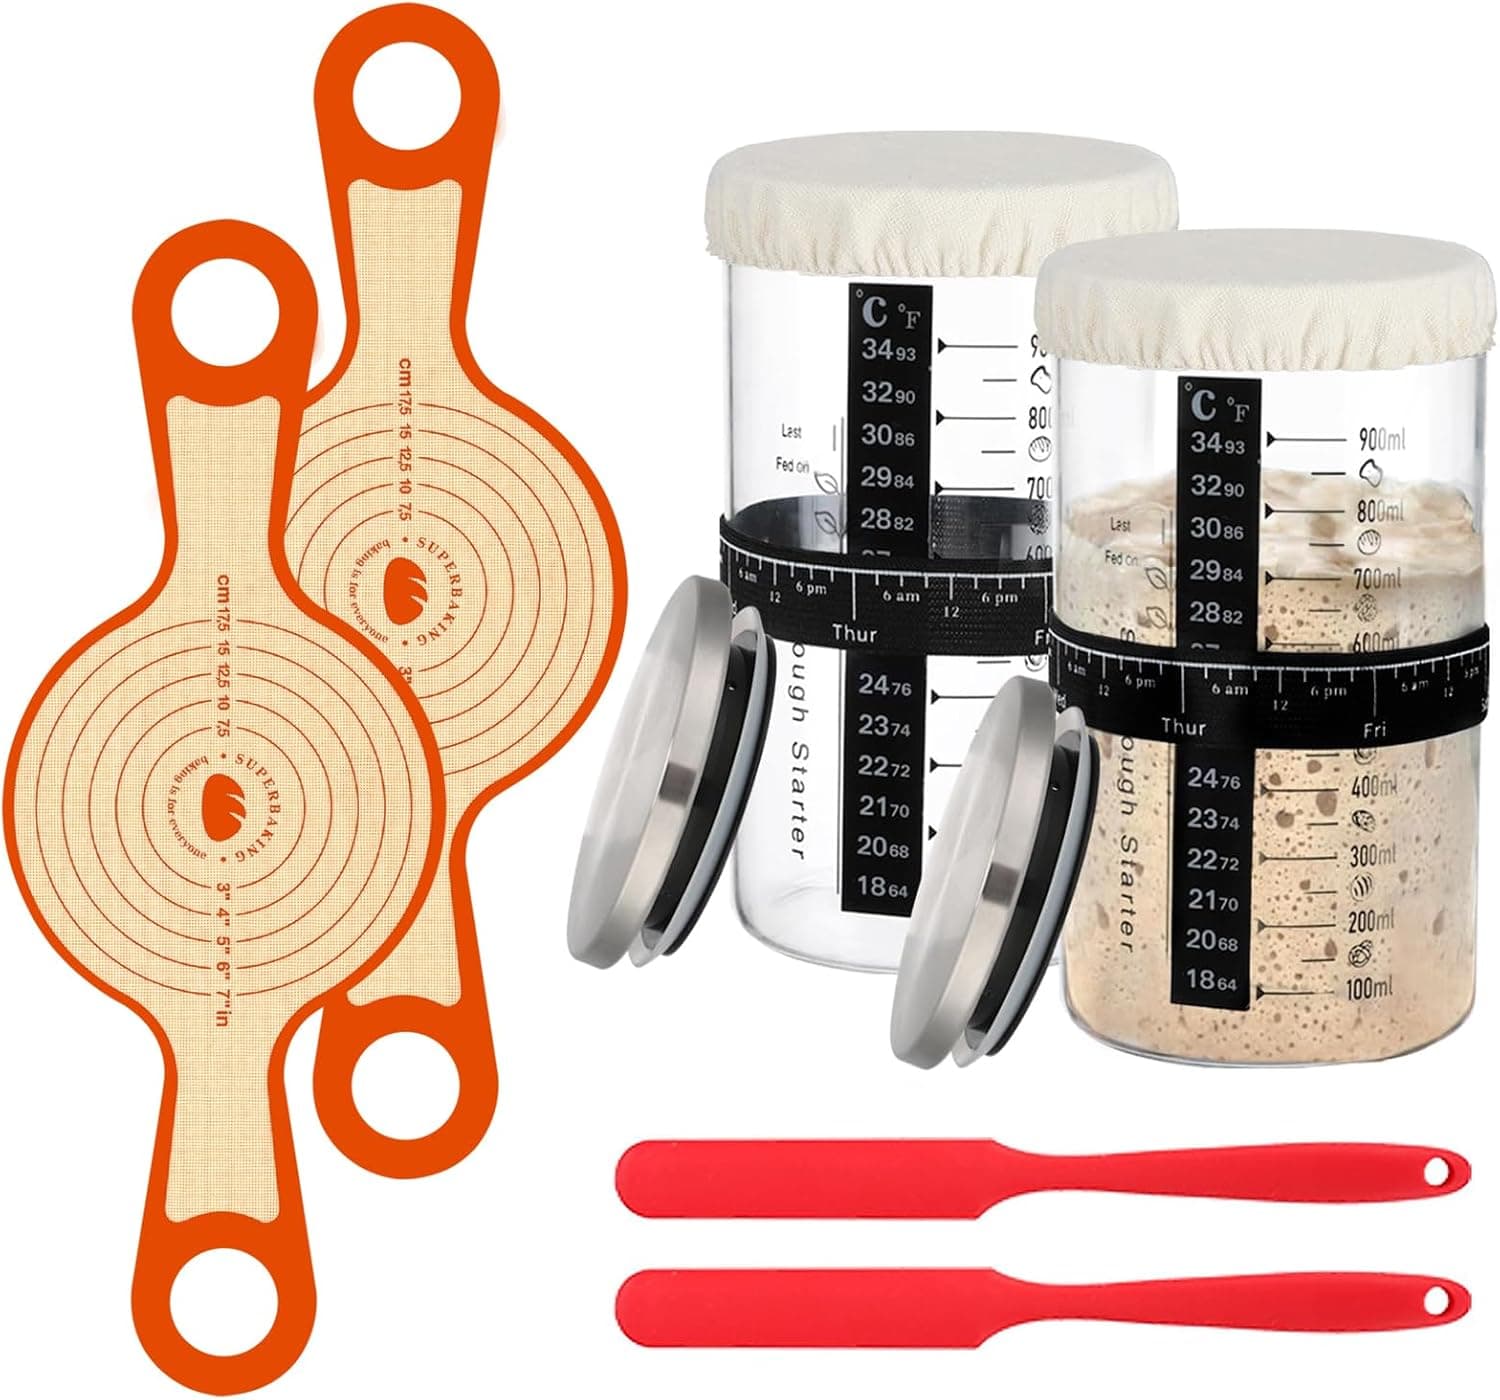
+ Two 34oz jars let you keep a backup or two different starters
From our guide: Best Sourdough Starter Jars
+ 50-113F control range covers cool retards through warm, fast proofing
From our guide: Best Bread Proofing Boxes
Popular right now
- Banneton vs Bowl ProofingArticle
- Sourdough Baking ScheduleArticle
- Troubleshooting Dense Sourdough BreadArticle
- Best Dough ScrapersBuying guide
- Understanding Sourdough Hydration BasicsArticle
- Best Sourdough Scoring TemplatesBuying guide
Based on the last 28 days of search and visitor data.