How to Make a Sourdough Starter
Published How we research
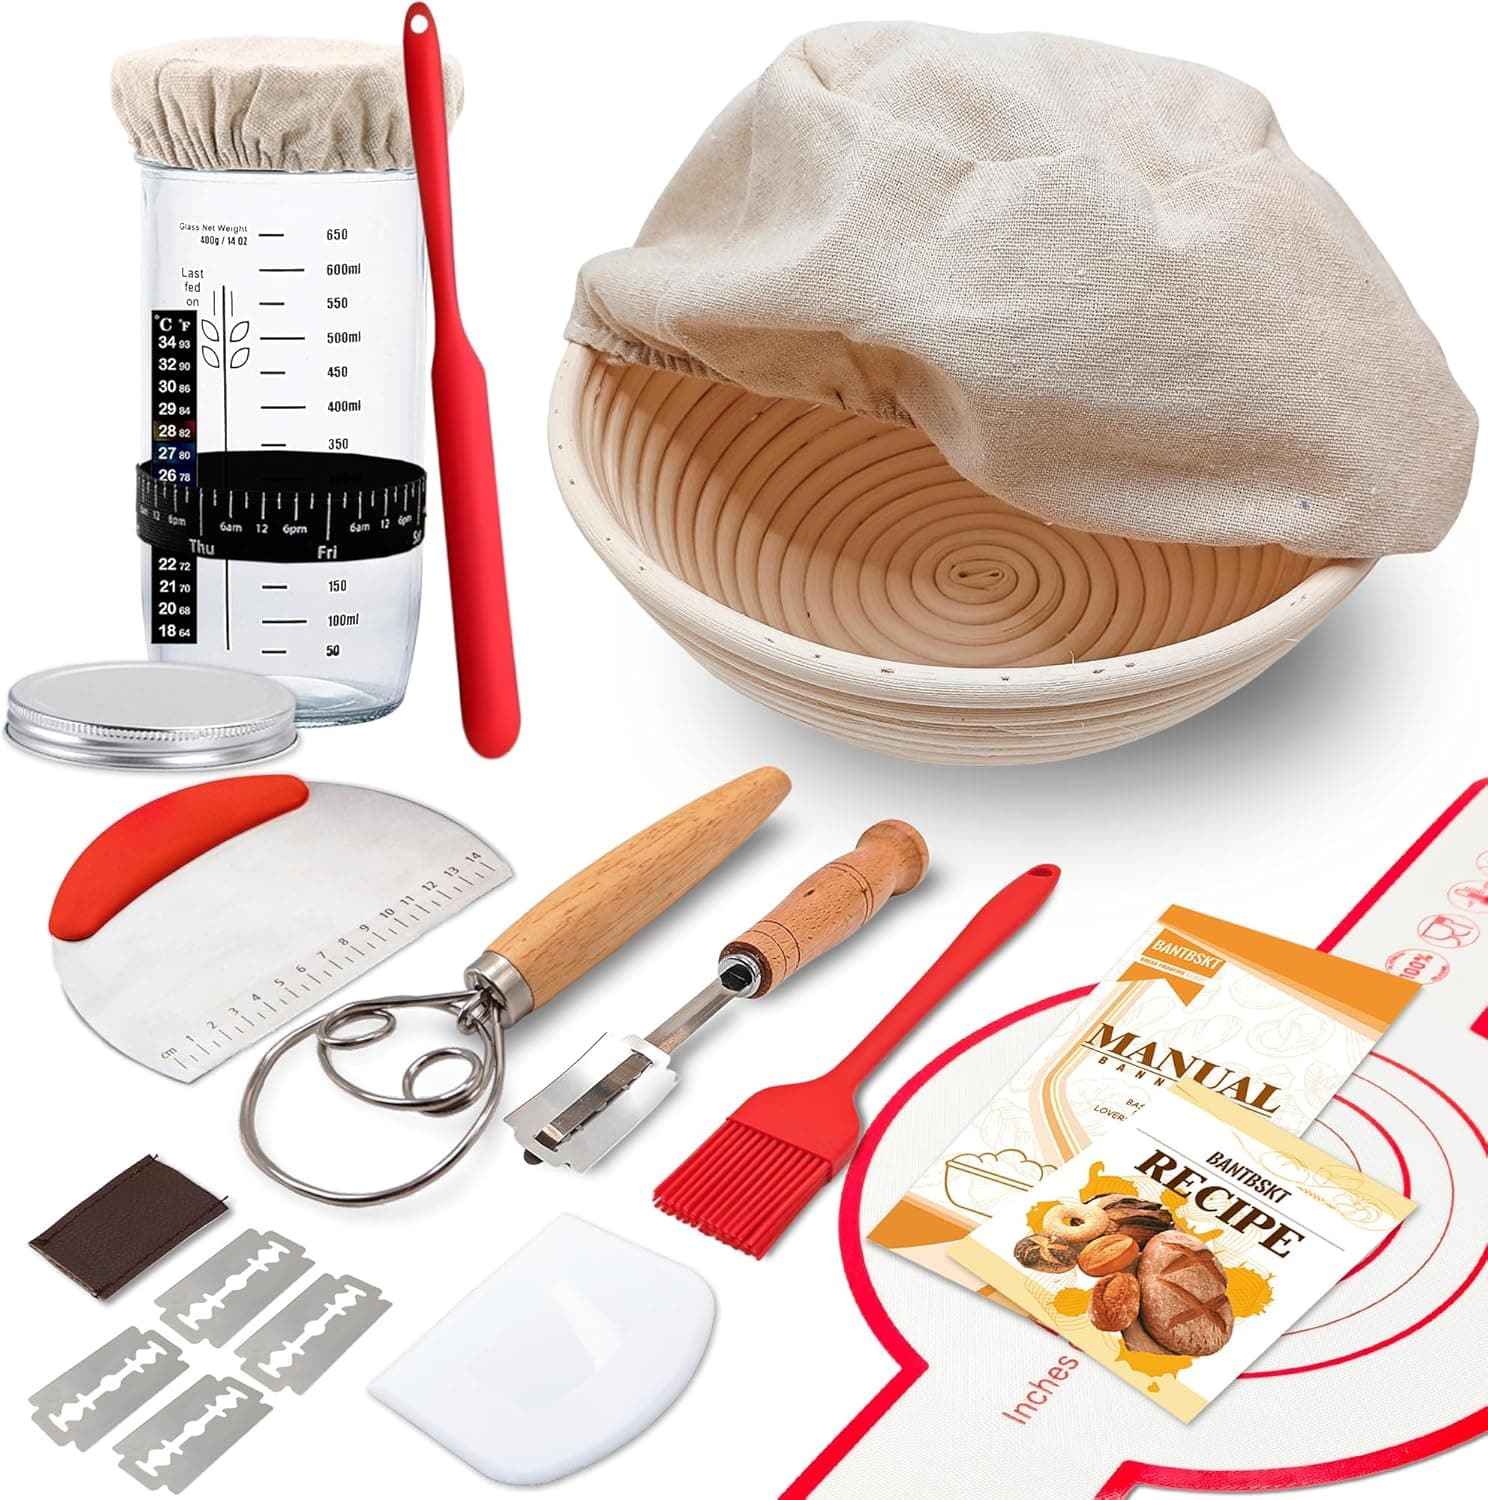
Making your own sourdough starter is one of the most rewarding things you can do in a home kitchen, and it costs almost nothing to begin. All you need is flour, water, and a little patience. A starter is simply a living culture of wild yeast and friendly bacteria that you grow yourself, and once it is strong it will leaven your bread for years to come. Think of it as a low-maintenance pet that pays you back in crusty loaves.
Products from this article
The highest-scoring picks from the buying guides this article links to. Scores are our editorial assessment, not customer ratings.
+ Starter jar is included, so beginners can build a culture and bake with one kit
From our guide: Best Sourdough Starter Kits
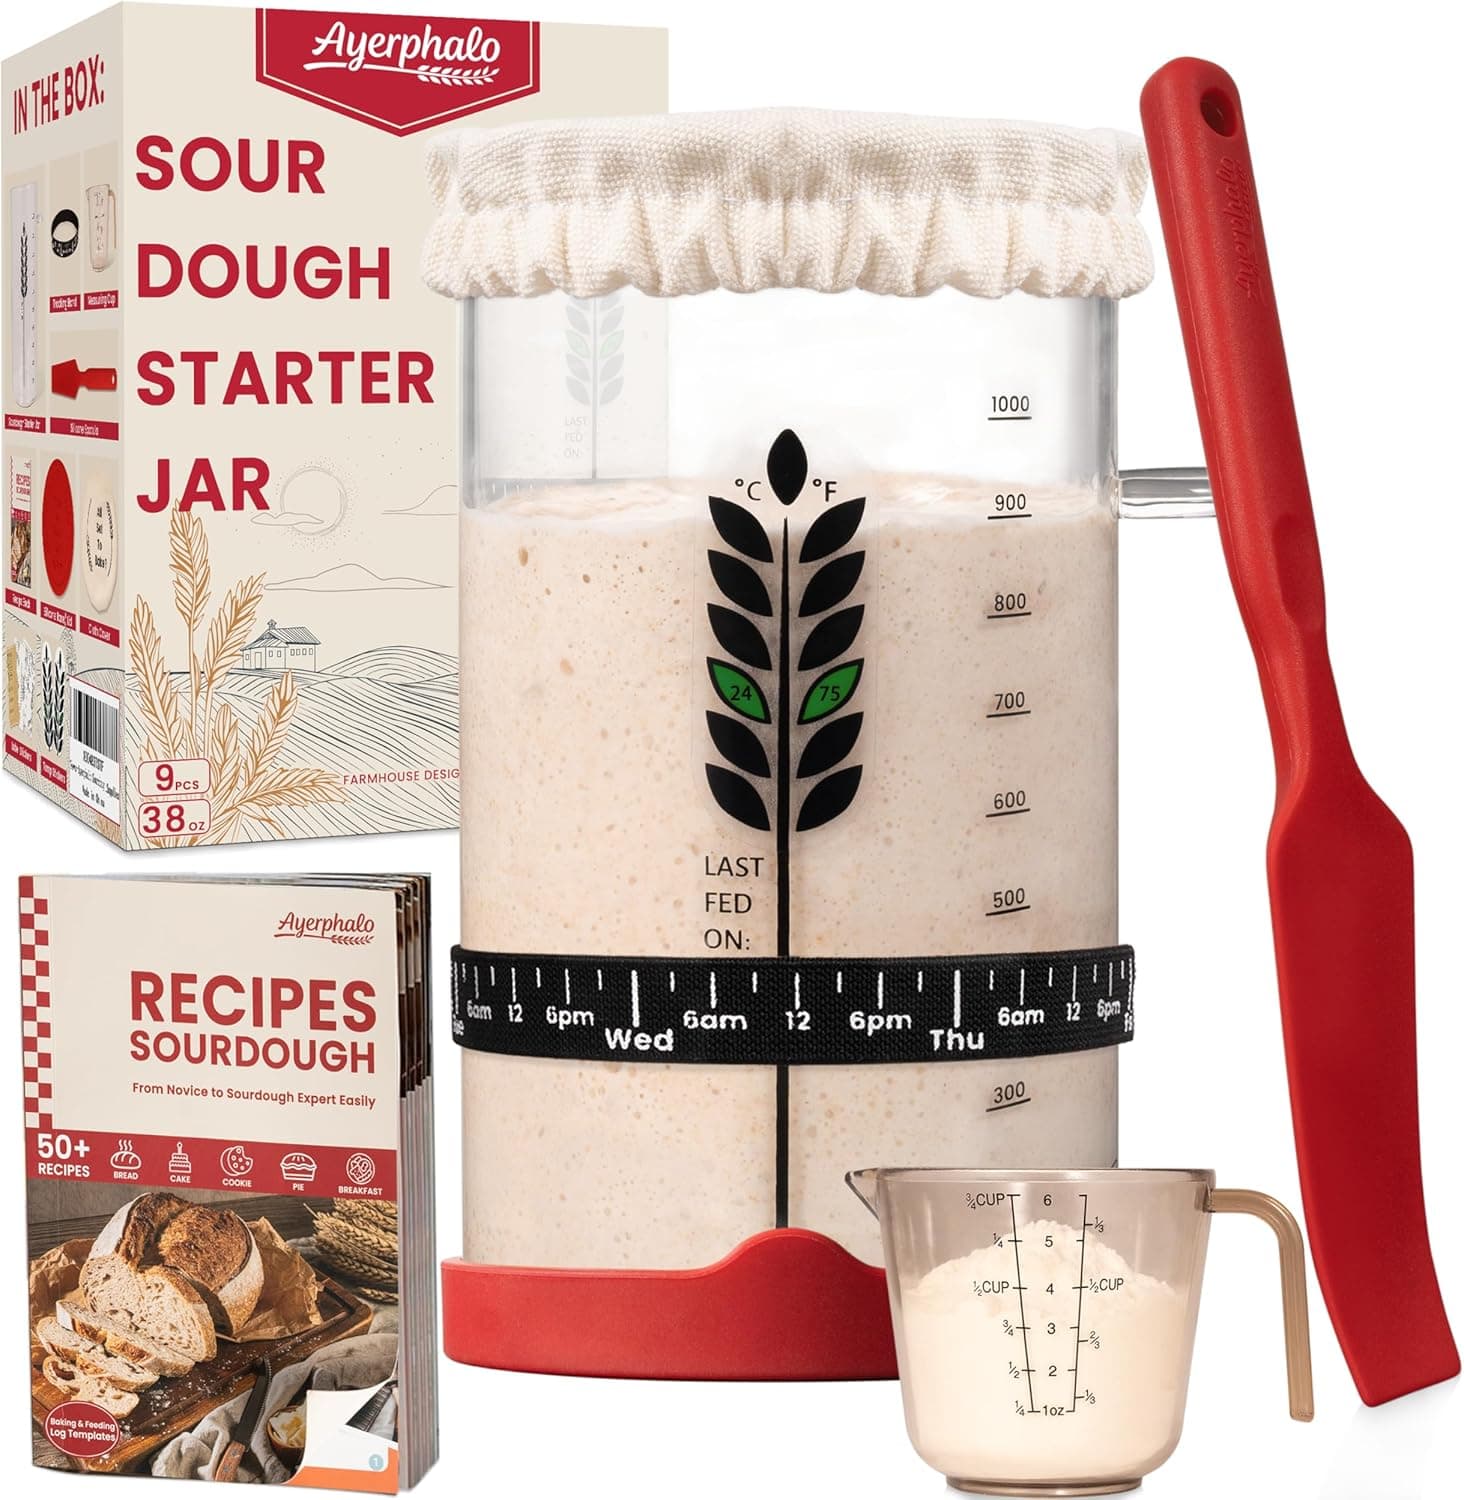
+ Cookbook provides recipes for using the starter beyond basic loaves
From our guide: Best Starter Jar Kits
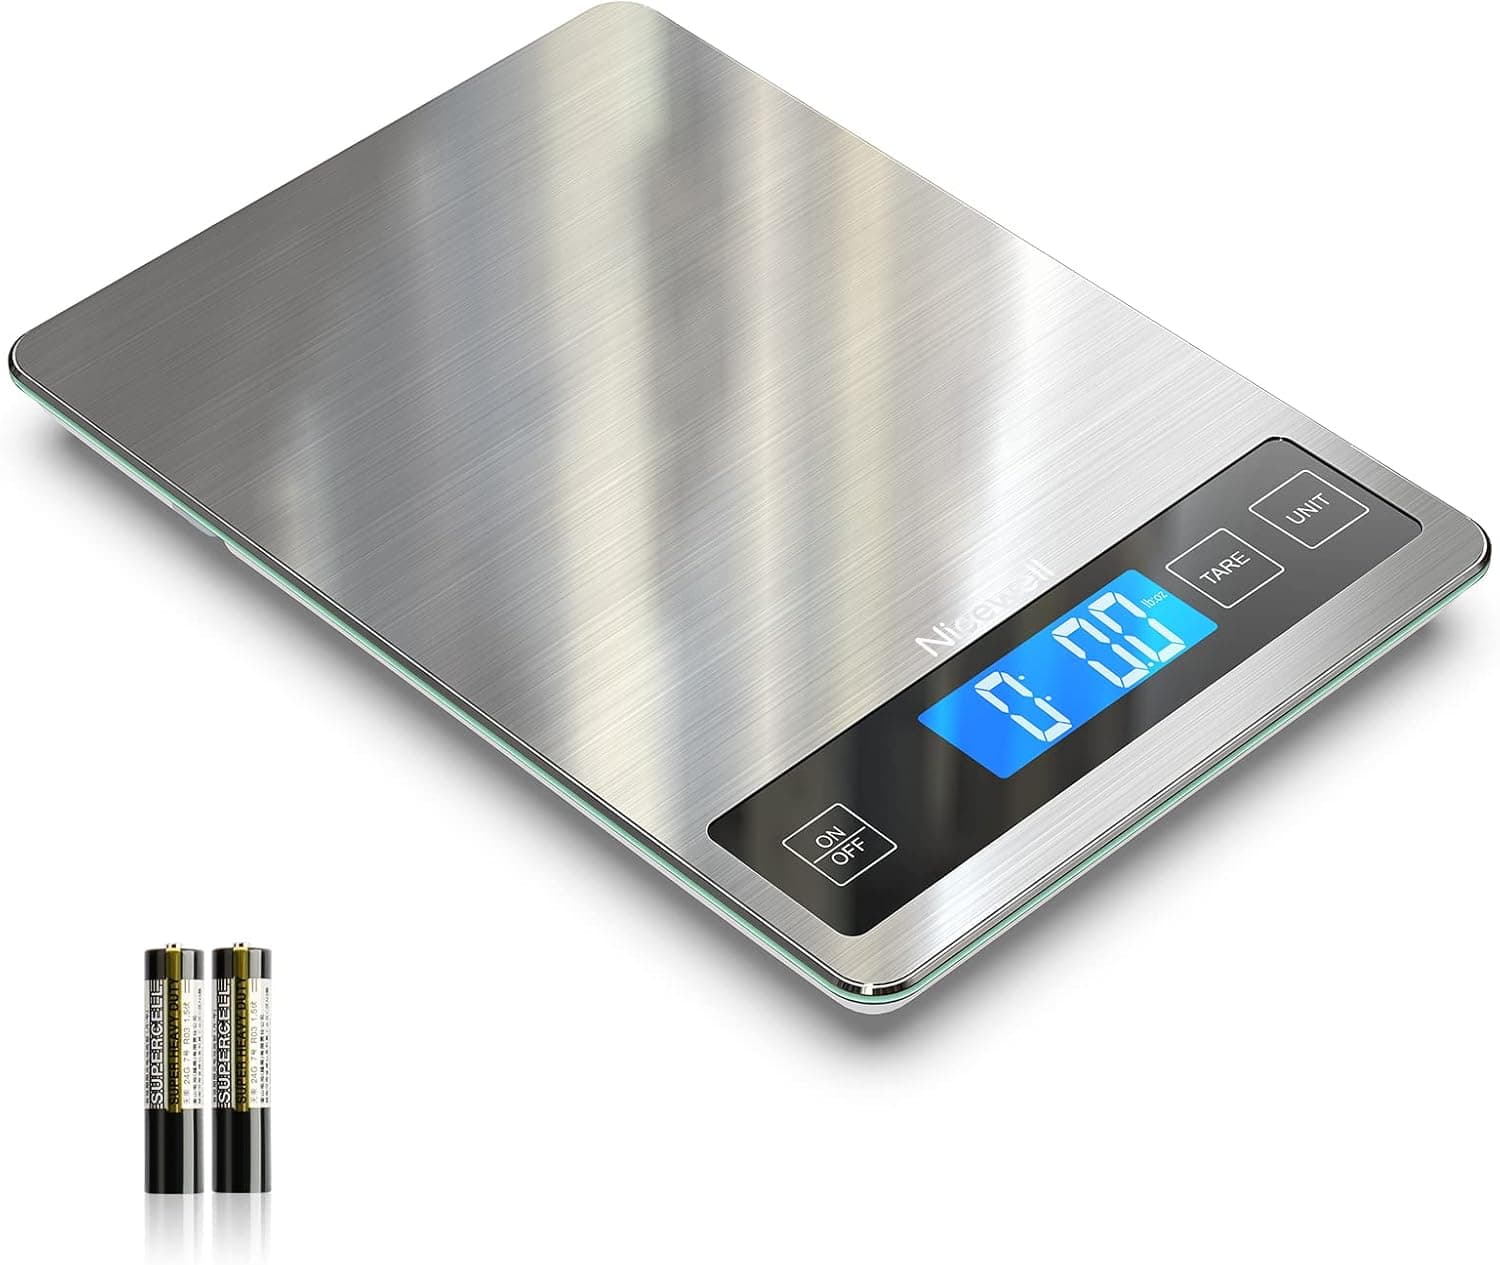
+ 22lb capacity handles heavy bowls of dough plus the bowl itself
From our guide: Best Kitchen Scales For Baking
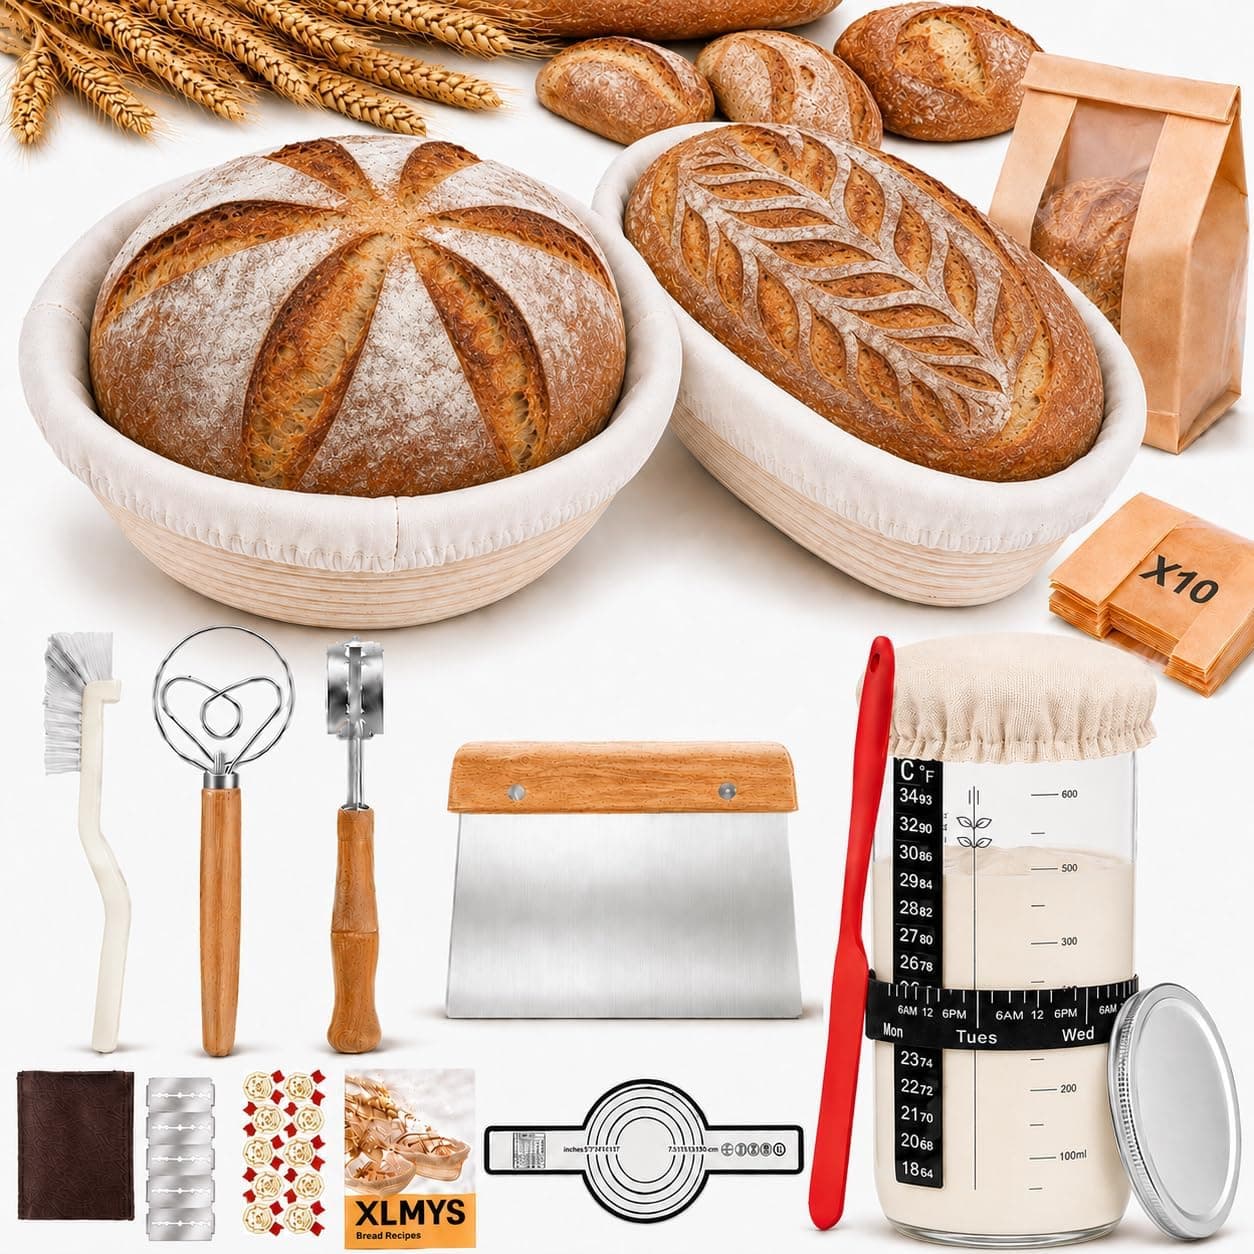
+ Glass starter jar lets you watch your culture bubble and rise
From our guide: Best Sourdough Starter Kits
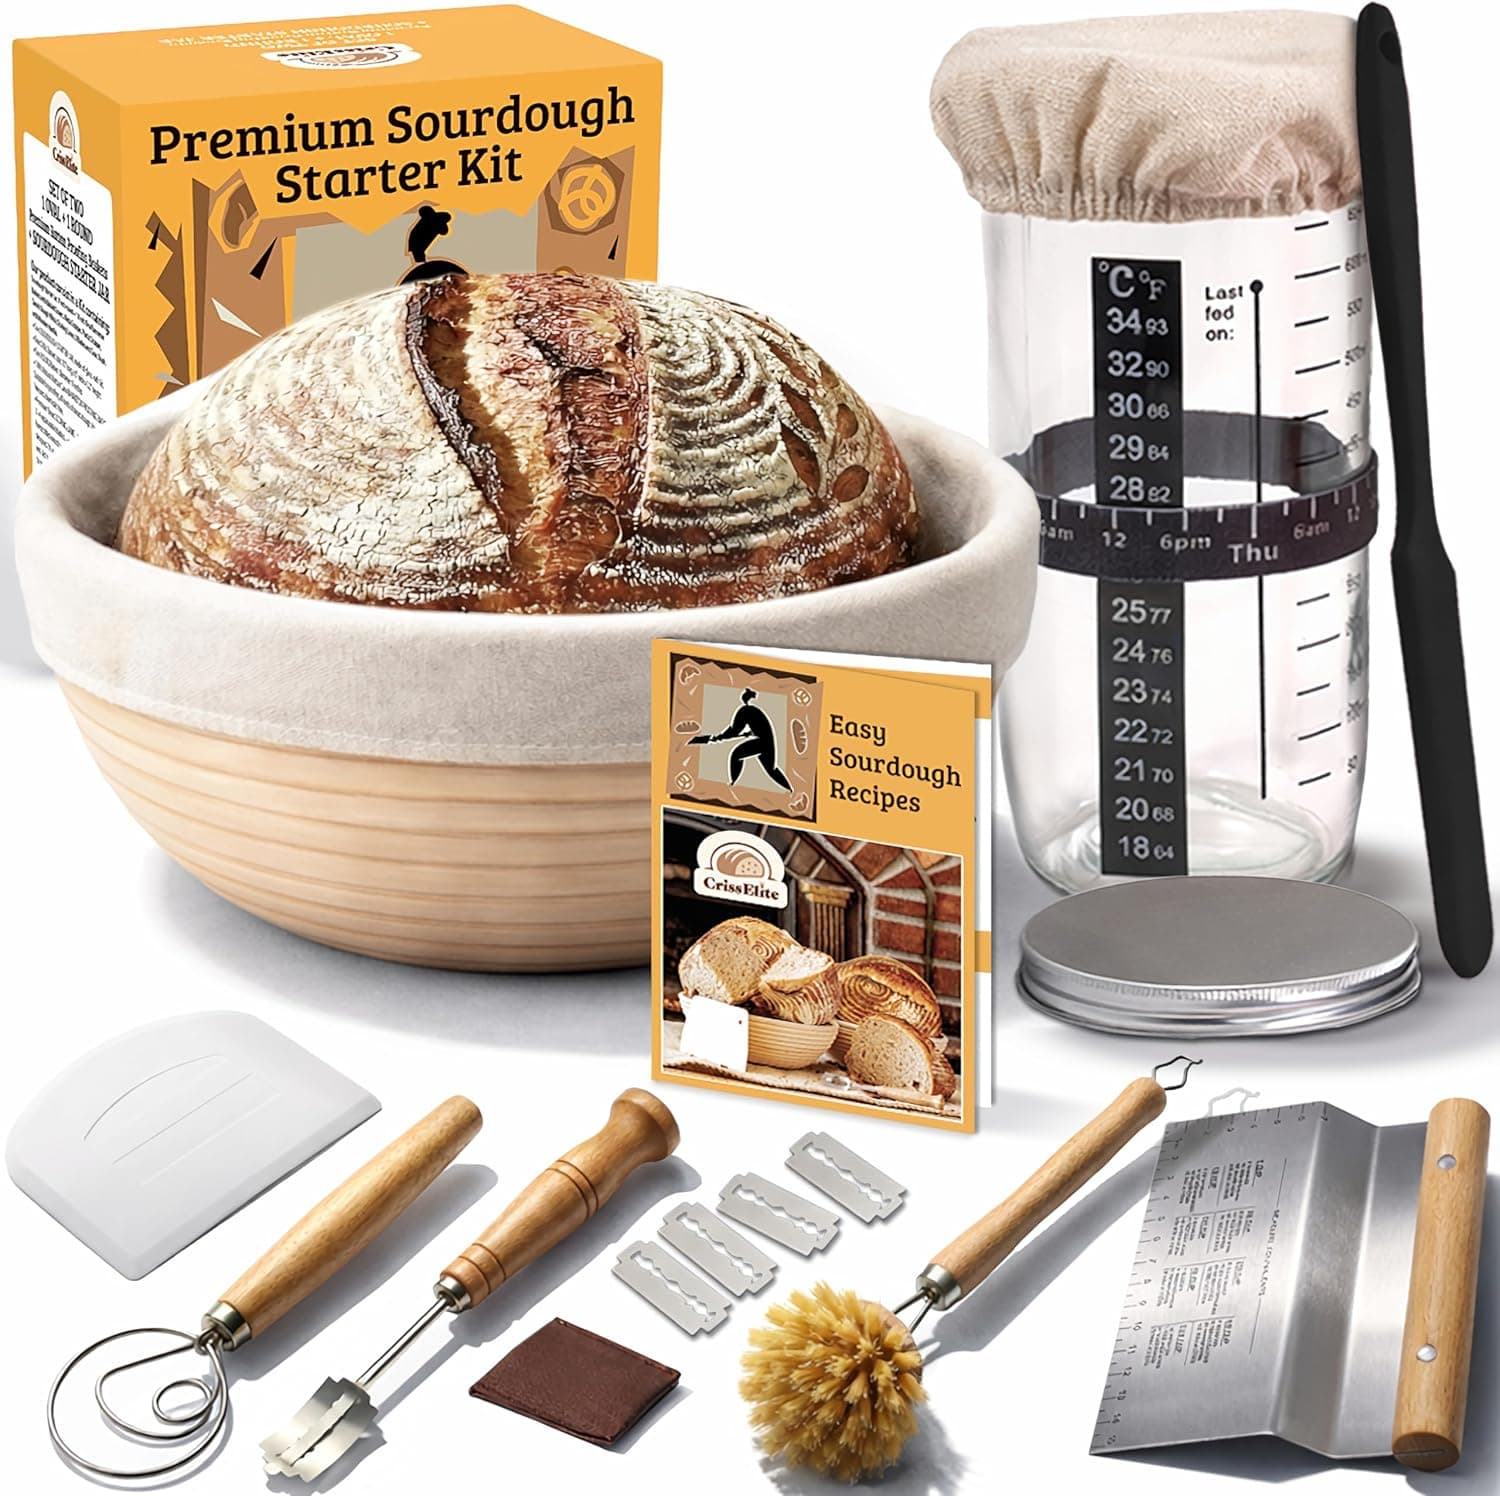
To begin, combine equal weights of flour and water in a clean jar. A good starting point is 50 grams of whole wheat or rye flour with 50 grams of lukewarm water. Whole grain flours carry more wild yeast on their surface, so they help things get going faster in the early days. Stir until no dry flour remains, scrape down the sides, and cover the jar loosely so gases can escape. Set it somewhere warm, ideally around 75 to 80 degrees Fahrenheit, such as inside an oven with just the light on.
For the next several days you will feed the starter once a day. Feeding means discarding most of what is in the jar and refreshing the remainder with fresh flour and water in equal weights. Keeping about 50 grams of the old starter and adding 50 grams flour plus 50 grams water works beautifully. This discard step feels wasteful at first, but it keeps the culture from becoming too acidic and gives the yeast fresh food to multiply. You can switch to all-purpose or bread flour after the first few days if you like.
Around day three or four you may notice a burst of bubbles and a sharp, sometimes unpleasant smell. This is completely normal and usually comes from bacteria that bloom early and then settle down. Do not give up if activity stalls after this first surge. The culture is rebalancing itself, and quiet days are part of the process. Keep feeding on schedule and trust that the yeast is waking up even when the surface looks flat.
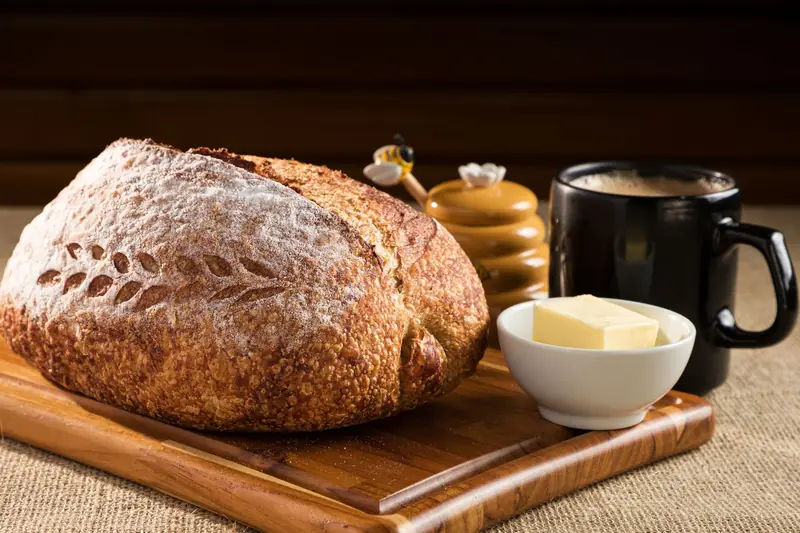
By day five to seven, a healthy starter will roughly double in size within four to eight hours of feeding, smell pleasantly tangy and yeasty, and be full of bubbles. The classic test is to drop a spoonful into a glass of water. If it floats, the starter is aerated and likely ready to bake with. If it sinks, give it another feeding and try again later in the day.
Once your starter is active and predictable, you can bake your first loaf or move it to the refrigerator for weekly feedings. Name it if you want to. Many bakers do, and it makes the daily ritual a little more joyful. What matters most is consistency in those first days, because a well-established starter is the foundation of every great loaf you will bake from here on.
Popular right now
- Banneton vs Bowl ProofingArticle
- Best Baking Stones for BreadBuying guide
- The 6 Best Silicone Baking Mats for Bread and Sourdough (2026)Buying guide
- Why Your Sourdough Dough Is Too Sticky to ShapeArticle
- The 7 Best Flour Storage Containers for Home Bakers (2026)Buying guide
- Best Sourdough Starter JarsBuying guide
Based on the last 28 days of search and visitor data.